“Anybody can put a tenon into a mortise and make a frame, but very few can make the braces fit.” Tedd Benson
Anyone interested in timber framing should be familiar with Tedd Benson’s first book. Published in 1980, it became the Bible for timber framers, and there’s a lot of useful information. Since then, timber framing has come a long way in terms of the available tools, and has looked back into the history and methods of building. Twenty years ago, I stumbled into a job helping a history professor sort out “fitting the braces” into some timbers that he had already begun cutting. Dave’s confusion in fitting up a knee brace had arisen from having not one book but two.
In 1984, Jack Sobon had published Timber Frame Construction, which had a modest frame with three H-bents that looked right for Dave’s backyard project. If one is good, two is better, right? While Jack was presenting classic American square-rule joinery with housings and reductions, he did sort of appear to assume that your layout and cutting would be as accurate as his. Dave’s most assuredly wasn’t and, to complicate matters, he was working mostly out of Tedd’s book, using Jack’s design.
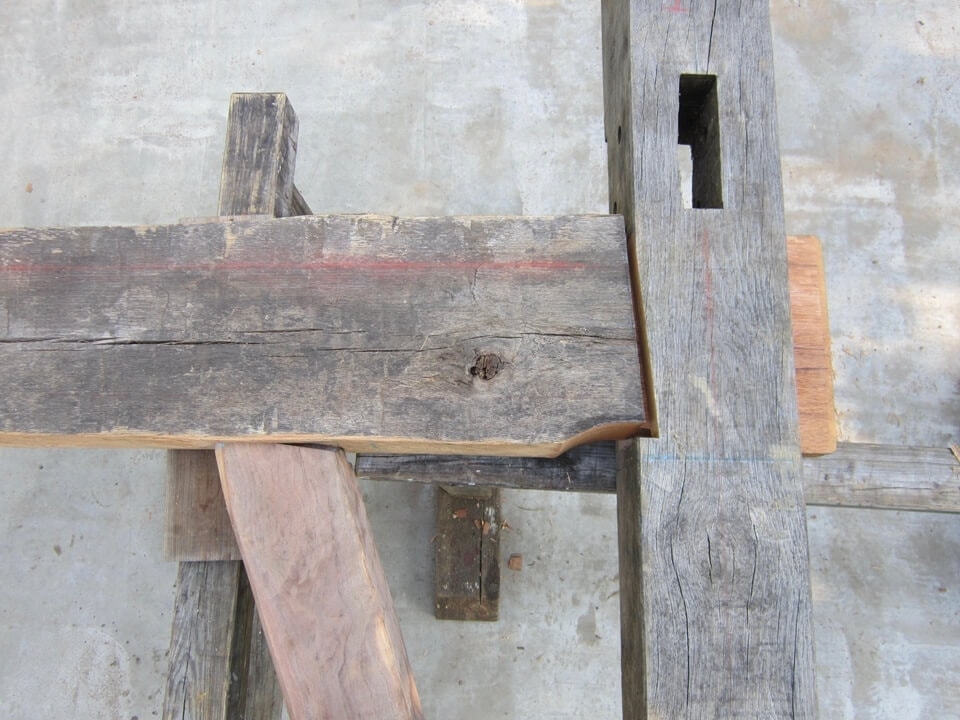
Square rule brace housings are hard to cut, especially in partially seasoned oak with chisels that aren’t particularly sharp. Power tools mostly get in the way or do irreparable damage, especially when the timbers are seriously out of square. Butchering, chopping into the wood to sever the fibers, serves well as a first step. Then, use the length of the framing chisel as a lever to slice with the edge, paring from the outside of the timber toward the mortise. Reductions on beams are even trickier, getting those two cuts to meet cleanly requires sharp tools and a light touch.
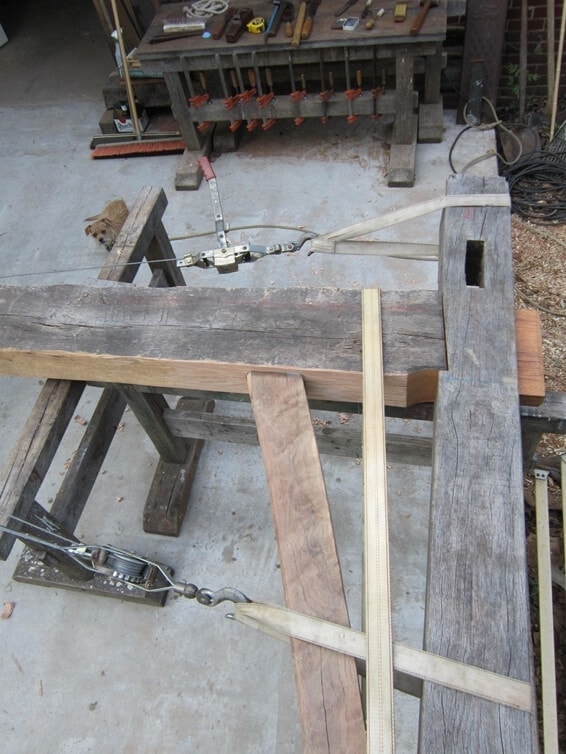
I keep a small tin of 3d galvanized box nails in my kit for setting measuring points. Fit up the beam and post, without the brace, so you can be sure that part is right. Where the two layout lines intersect on the post, drive a nail leaving the head just proud of the surface, such that it catches the slot in your tape measure hook. Pull down the post 8 feet, and drive another nail, then across the beam 6 feet and make a mark. Measure from the 8 foot mark to the 6 foot mark, and make that distance 10 feet by moving the timbers as needed. Now, try it with the brace. Rub a bit of chalk on the brace shoulders, so that it will transfer. If there is a gap at the beam shoulder, your housings aren’t deep enough, or the mortise ends aren’t square to layout. Adjust and try again, until you’re satisfied. If this is an outside post, nobody but you will ever see this joint. Now you can mark for drawbores. Poke an auger bit into the peg hole just enough to leave a mark on the brace tenon.
Inside posts with fully-housed braces require a slightly different approach. Setting the brace into its mortise before cutting the housing, mark with a pencil to define the housing, make sure the entrant shoulders are slightly beveled inward. This is visible in the finished frame, and you want as tight a fit as possible. After cutting the housing, fit the brace again, this time marking the brace with a pencil to indicate how deep it goes into the housing. If you want a tight fit on the non-bearing side of the brace (I lost a house key in one on my front porch…) take some time measuring the length of the brace shoulder at housing depth, cut and fit carefully.
The long slope parallel with the grain in a scribe rule housing is actually much easier to cut, and scribing accommodates curved braces into cambered beams without resort to the brace table. The initial posts and beam assembly of an H-bent become the establishment, the rest is merely a matter of laying the brace stock over the posts and beams and scribing the joints.
great info