Jump to: Version 1, Interactive 3d Model, Version 2
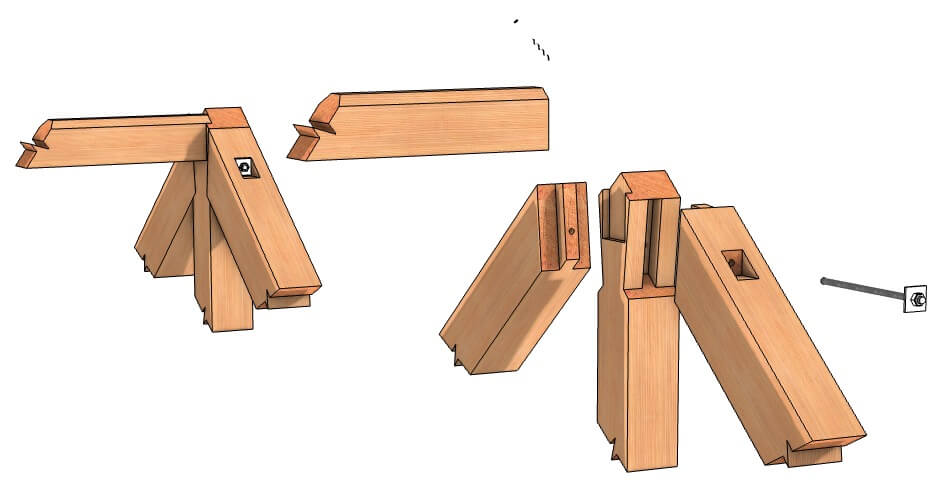
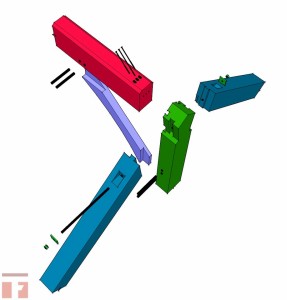
This king post with steel all thread uses a bit of hidden modern technology to strengthen the joinery and avoid taking too much “meat” from the timbers.
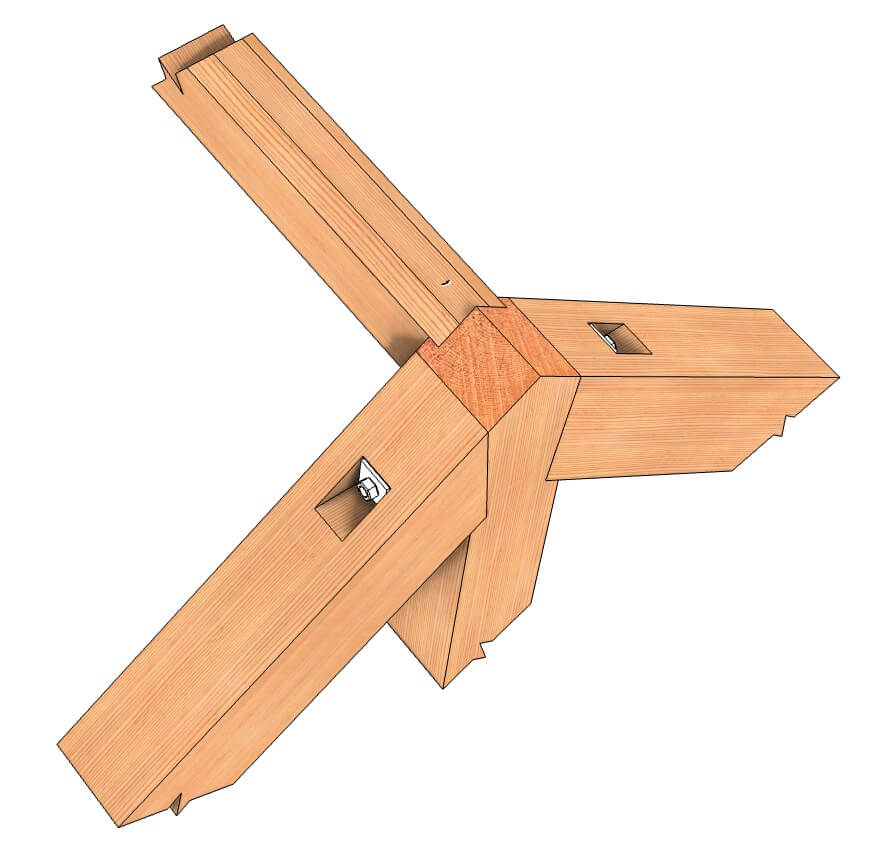
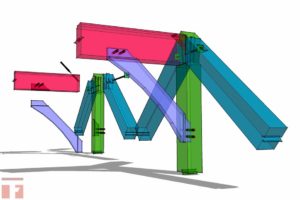
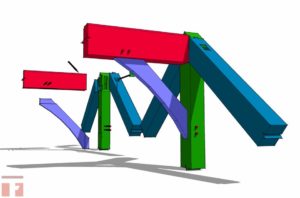
A king post truss is one of the most common types of trusses and is a very strong one, since the bottom chord prevents spreading. This example is a Haunched King Post. The top chords have stub tenons (tenons that extend all the way across the face of the timber) and the sides of the king post are beveled to create a shoulder for the top chords to rest upon. That creates an attractive assembly.
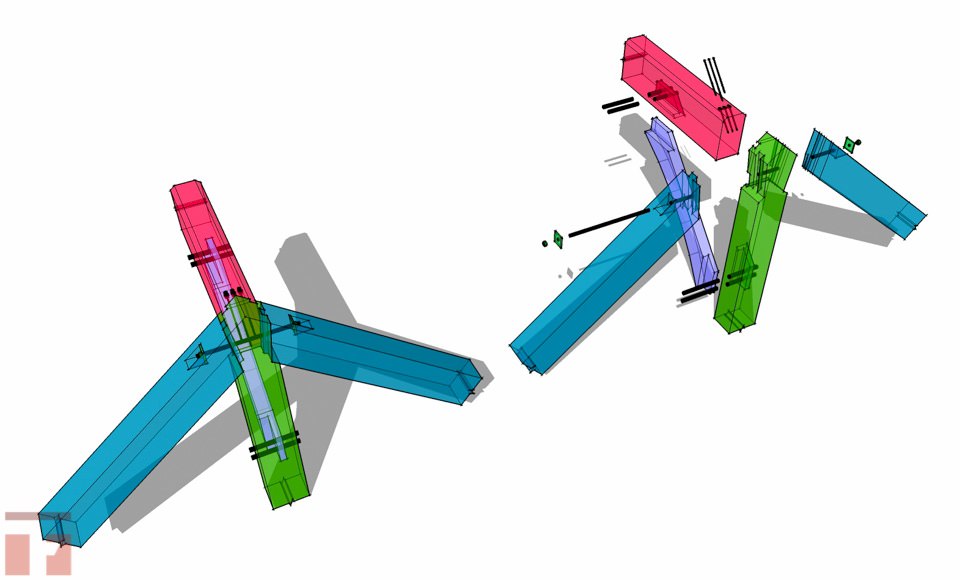
In order to avoid having to cut too much wood away from the king post, this example uses steel All Thread rods to tie everything together. This allows faster cutting, fit up and assembly. The all thread is inserted into notches cut into the top chords and through a hole bored into the king post. Since this occurs at the top of the timbers, the metal is not visible and the entire assembly appears perfectly traditional. The ridge beam is set into a shoulder cut into the king post, and secured with hidden structural screws.
Using hidden metal connectors in this fashion has become more and more common. It is a great way to strengthen the frame without sacrificing the beauty of traditional joinery.
Image Gallery (Click Image To View Slideshow)



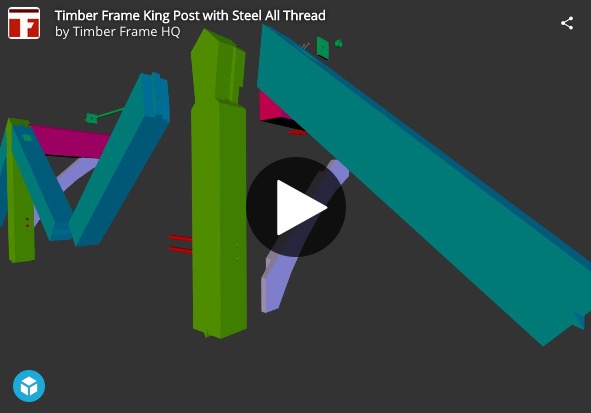
Interactive 3d Model
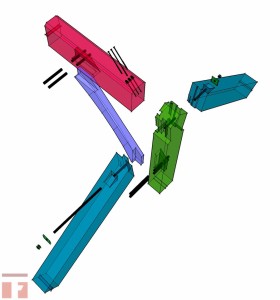
Version 2
Hi Brice
Big Thank you for posting these amazing joinery details, makes understanding them a lot easier. I am working on a housing project and wanted some information and CAD Details for joining Timber frame with steel connectors. I wonder if you can send me any floor/wall/roof details please, will be much appreciated.
Thanks
Kirt,
Can you be more specific on what you are looking for.
Thanks,
Brice
Hi Brice–
I’m curious why you did not use a tenon at the end of the ridge beam going into the king post? I was thinking a housed tenon with mortise about 1/2 way into the king post, pinned. Why not that instead of the structural screws? My rafter beams are coming into the king post below the ridge, so I don’t think there would be an issue with removal of too much material in that part of the king post.
Thanks,
Dan
Adding a tenon is one way to go there for sure, think I will add that example to my list of to-dos. There is a lot going on at the top of the king post and so my go-to is simple and strong. I find the screws with housing the simplest way in this case. At some king post to rafter connections, a tenon is used. In those cases putting in a tenon would take too much wood out of the king post.
Leaving out the ridge for a moment, your design actually takes as much material out of the kingpost as a no-steel, traditional version. In a traditional version, there is 3-4″ of relish left in the mortise above the rafter tenons. That is what actually does the work. Often, the joint is not pegged at all.
The little bit of relish shown in your version 1 example will undoubtedly break out during the fabrication process. Version 2 shows no relish at all.
If the kingpost is cut from green material and is loaded in tension, the subsequent shrinkage will allow it to drop a bit until the rod is tight. Also, the rod placement is exactly where checks and splits will develop in a boxed heart kingpost, weakening the tensile capacity of the kingpost. I would suggest only using this design where there is no tension load on the kingpost.
In historic examples, exposed iron straps were occasionally used to augment the joinery (See for example “The Carpenter’s Assistant” by James Newlands 1854). Some exposed iron straps could be a decorative feature.
Thanks for your feedback on this joint, Jack. I agree that this detail is not the best for heavy loads on the king post, but it has worked well in the past for me on a smaller frame. Both versions have been approved through the engineering process for the size frames they are in. We do have a king post detail coming out from a 26′ span that is better suited for a larger span. You can get a sneak peek at .
.
When I use a king post design (sometimes a true truss to the tops of the eave posts and other times to a rafter tie), I design it so the tenons virtually meet in the middle of a through mortise. These are then pegged traditionally.
For the ridge, I have gone to a “ridge purlin” design that sits atop a flattened bed at the top. The whole assembly can be designed with plenty of top relish. The ridge purlin may be wholly atop the king post or wholly coplaner (or anywhere in between) with the roof angle cut into the top of the king post itself. When it is not wholly atop, a slight (1/2″) relief housing cut into the vertical face to the King post can clean up this joint. I side-lap the parts of the ridge purlins where they enter from two sides, then timber-screw them to each other and to the king post itself.
Thanks for your input, Chip.
Hi
Please can you tell me what the vertical fixing is on the last “sneak peak” drawing?
Thanks
A good rule of thumb is to make it as low as you can. It will really depend on the roof pitch that you are using.