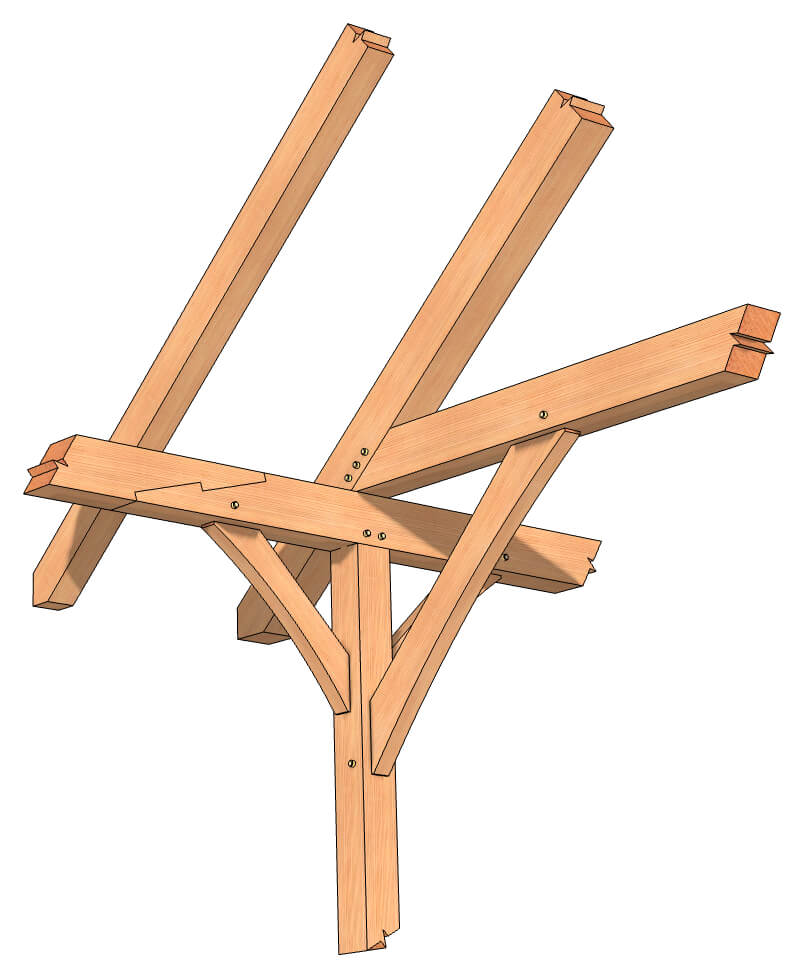
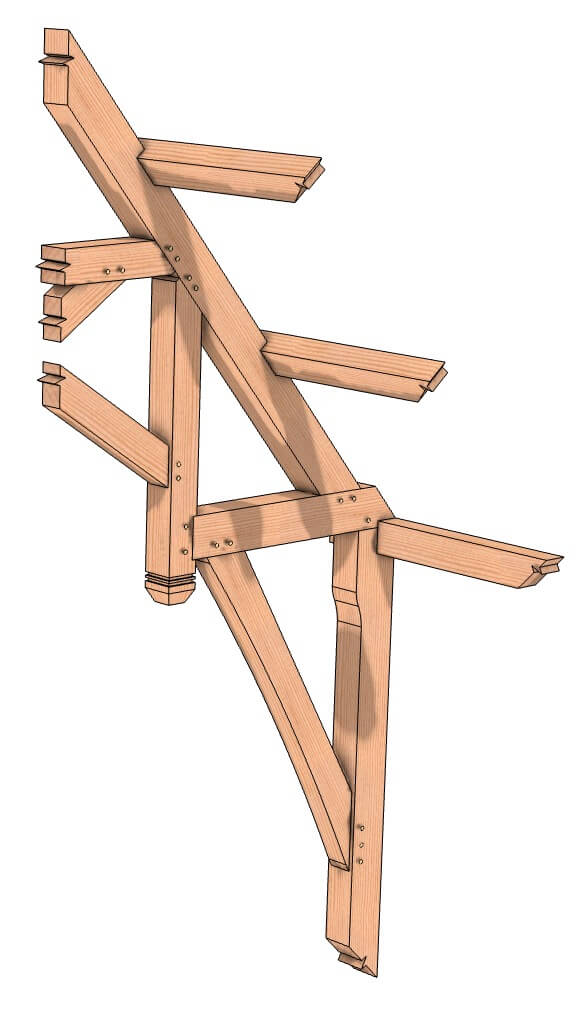
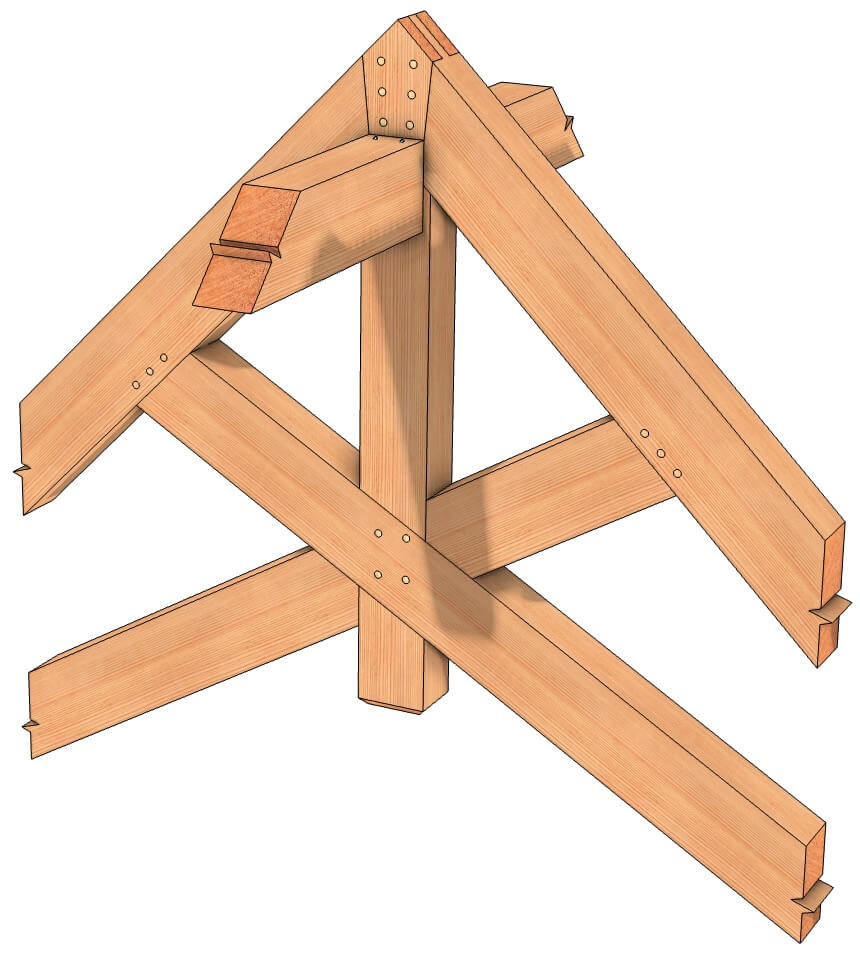
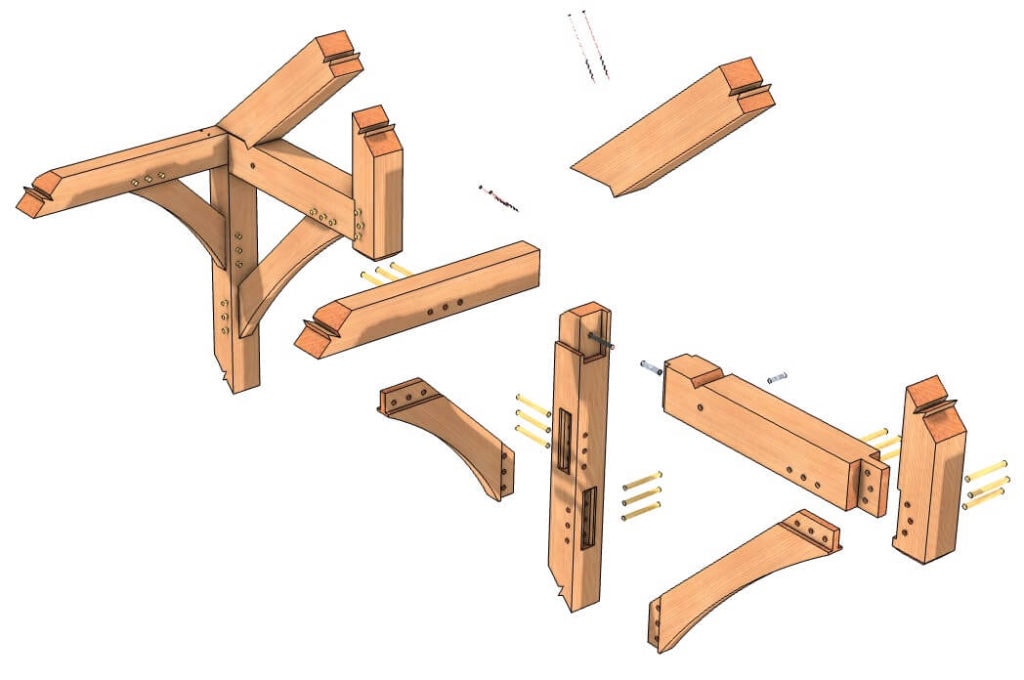
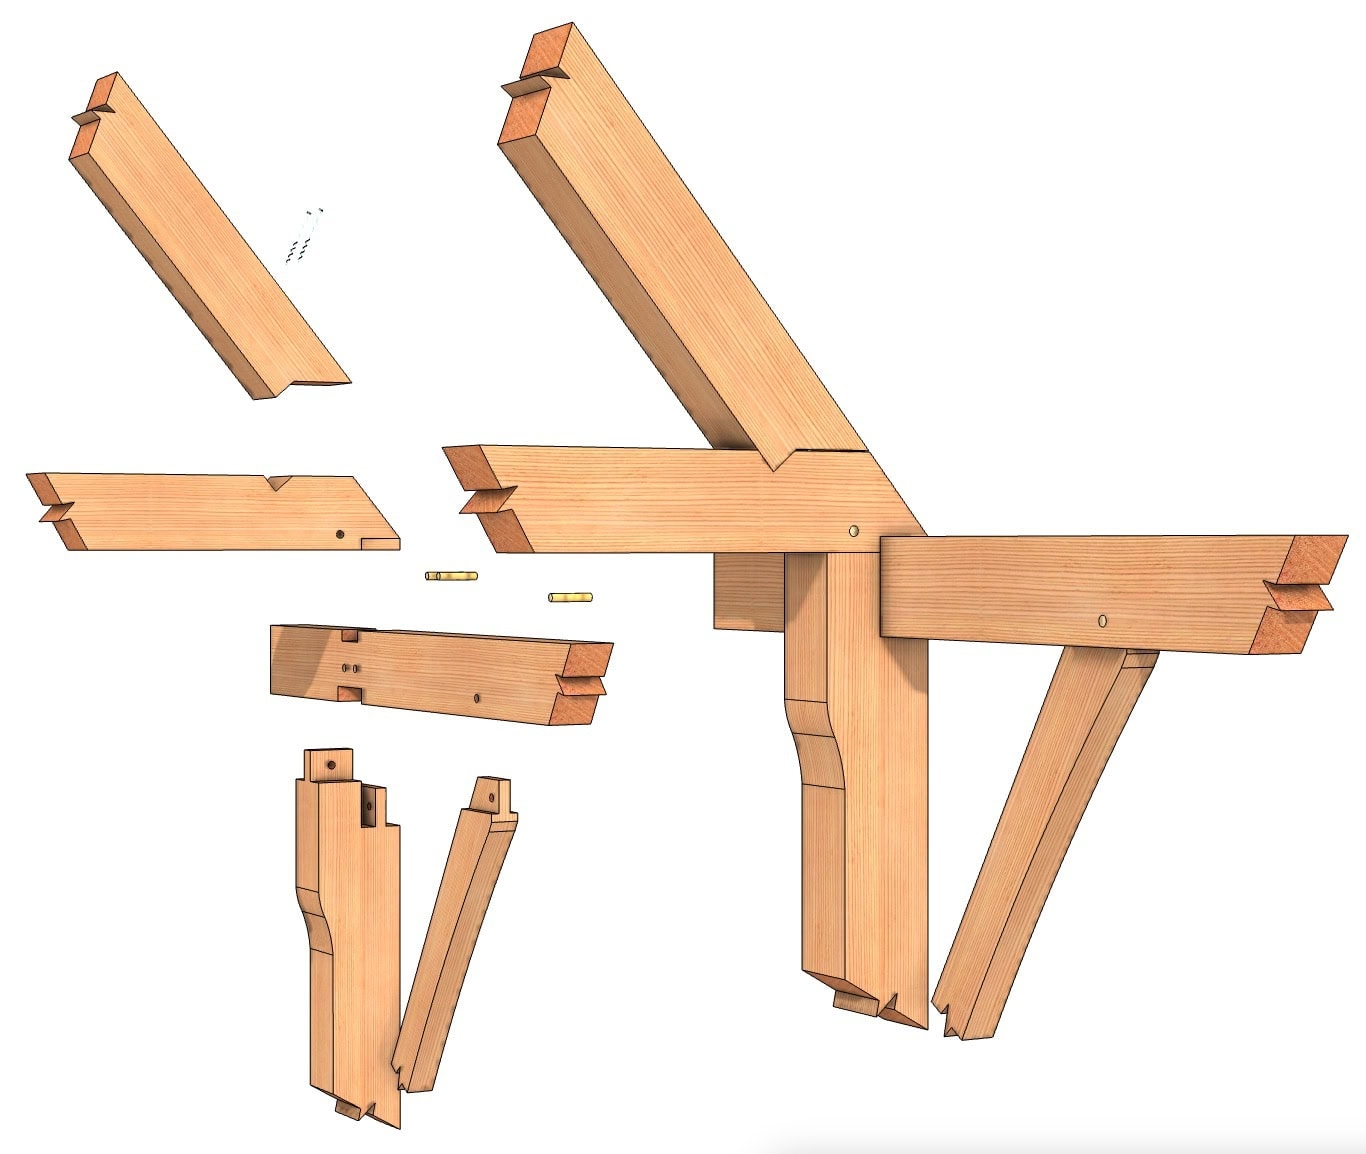
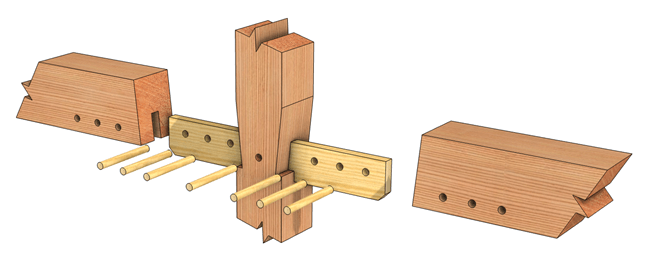
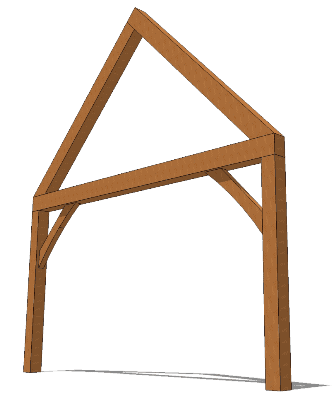
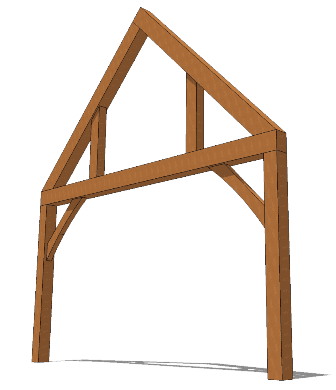
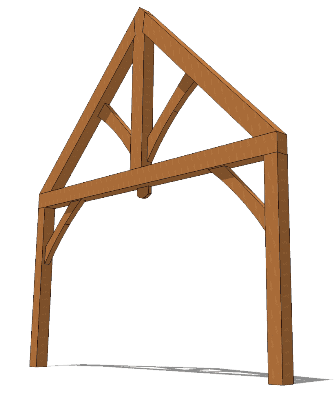
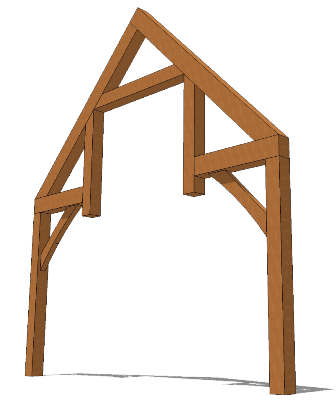
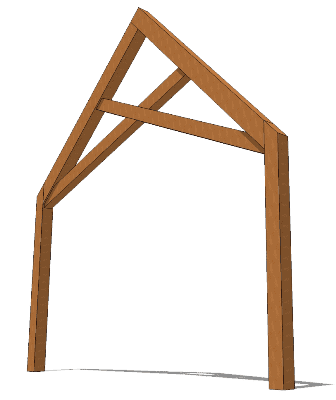
Modified English Tying Joint
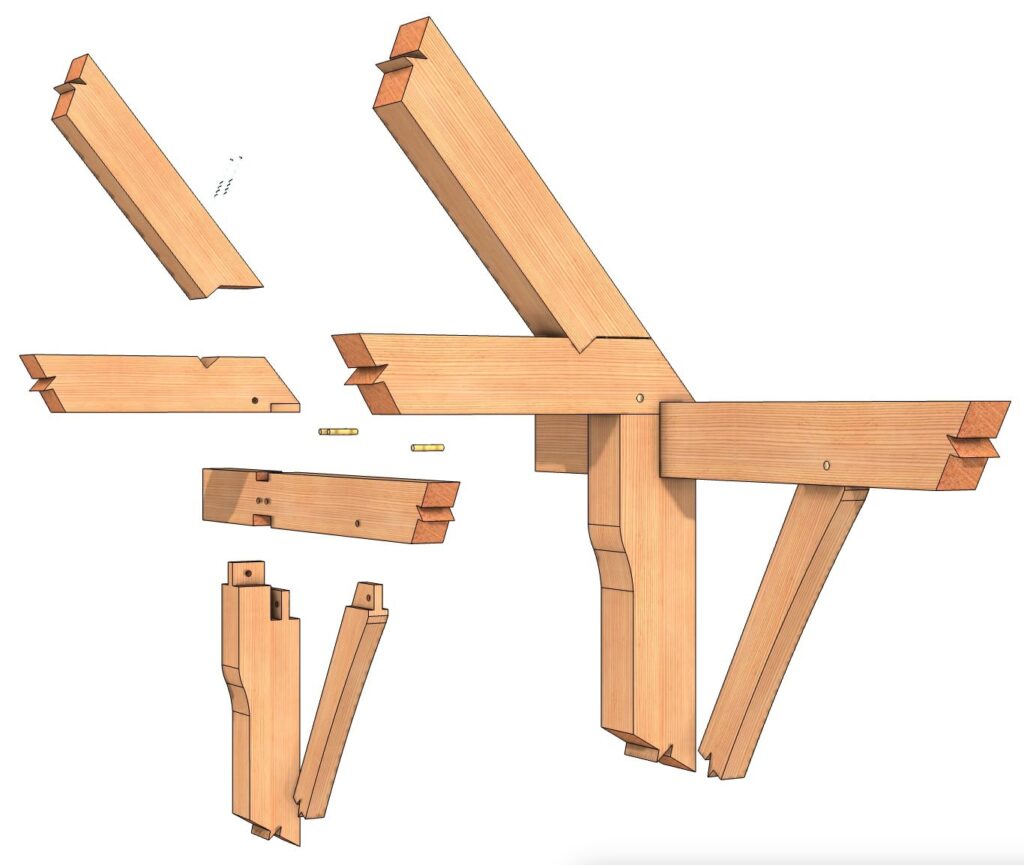
English tying joints are a hallmark of historic British timber framing, serving as crucial connections that bind a building’s primary structural members. Found in medieval barns, churches, and manor houses, the joints use carefully fitted mortise-and-tenon (and occasionally dovetail) connections […]
Modified English Tying Joint Read More »