The big day is here, time to raise a timber frame! Everything has been cut and is at the site; you are waiting for the team to show up and raise your frame. The raising is exciting for everyone, and a lot is happening. Understanding something about this next phase should set your mind at ease and make some of the hustle and bustle less intimidating.
Raising a timber frame will go smoothly if the frame is well-organized, precisely cut, and labeled. Pre-assembly is strongly recommended; you should double-check everything to ensure it is labeled correctly and stacked orderly. Remember what pieces will be needed first, and ensure those pieces are not at the bottom of the stack (i.e., keep the braces in one stack and rafters in another). Without fail, however, something you need will always be on the bottom, so don't stress.
Depending on the size and complexity of the frame, the raising can continue for several days or be completed in a single day. It's a hectic time, and lots of people will show up to see the spectacle. Having a morning safety meeting with the team will ensure that everyone knows what to be aware of and any potential problems that could arise. This big, heavy job requires a lot of bodies, so safety is a first priority.
Raising the frame of your home is a blue-denim ballet. Everyone on the team needs to anticipate other team members' needs, know the next intended move, and be right on cue with the subsequent step of the dance. Crew chiefs call the shots and orchestrate the movement of the crane operator and the ground crew.
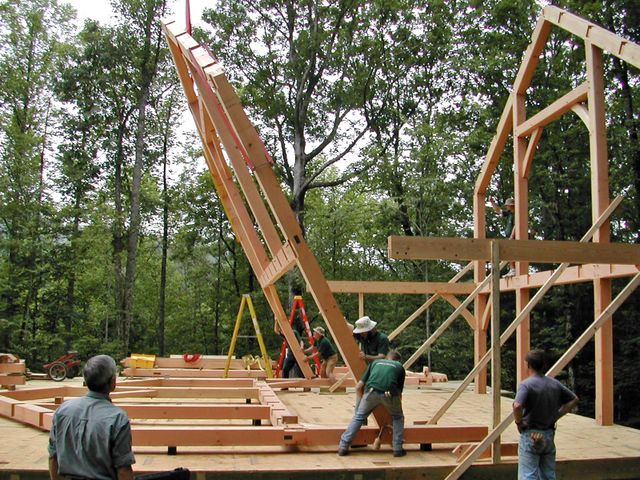
Step 1 - Delivery to site
Once pre-assembly is completed and the timbers have been loaded up and shipped out of the shop, it's time to get to the site and start the fun part. Raising is every timber framer's favorite job. Start by pulling everything off the truck and organize each piece by those you need first. Then, put the ones you know you will not need for a while out of the way or in an easy-to-move location.
Now that you've separated the stacks and can see where each part needs to be, it's time to start assembling the frame and cutting posts to length. You will need to take this slowly and carefully. If you are raising the frame by hand and can lift pre-assembled bents, then you can put it together, ensuring it's square and locked together. Lift the bent and set it in its place, brace the bent level, and plumb. Repeat this process with the next bent and tie them together with the necessary pieces.
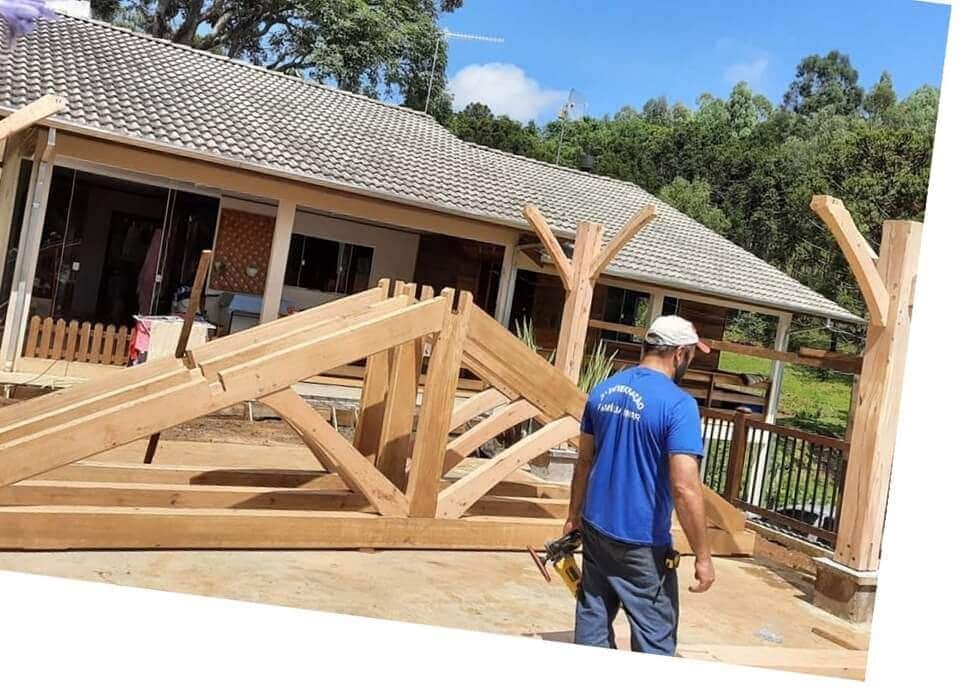
Step 2 - Pre-assemble
Pre-assembling in the shop is a great practice to follow. It ensures that everything will go as smoothly as possible onsite. Pre-assembling allows you to check the fitment of the joinery, the cuts, and the dimensions to ensure that everything is exactly as it should be. The more time spent checking and fixing any problems you find in the shop is time saved on site. After all, time is money.
Cutting the Post to Length*
Cutting your post to length in the shop is risky, as you have to be positive that the post base locations are all perfectly level to each other or that the foundation has been poured to perfect specifications. If you cut the bottom of the posts incorrectly and they are not level, then how long or short they are to each other is how out of level/plumb the frame will be. You can wait until you get to the site or go to the site a few days early and use a transit level to get the length of posts ahead of time. I have found this to be the most efficient way to ensure that each post is level. If you do not own a transit level, then you can use a laser level to mark a line that will be level across the entire foundation.
At each post location, use the level line to calculate the difference needed to offset the frame so it will be level. Always double-check everything, as it is a highly complex fix that might require you to buy new timber. The old school method would be to use a water level. This method has worked for centuries, but it also carries a certain skill level to do correctly. If you use this method, take your time and triple-check everything.
* Included in our Ready-To-Raise™ Kits
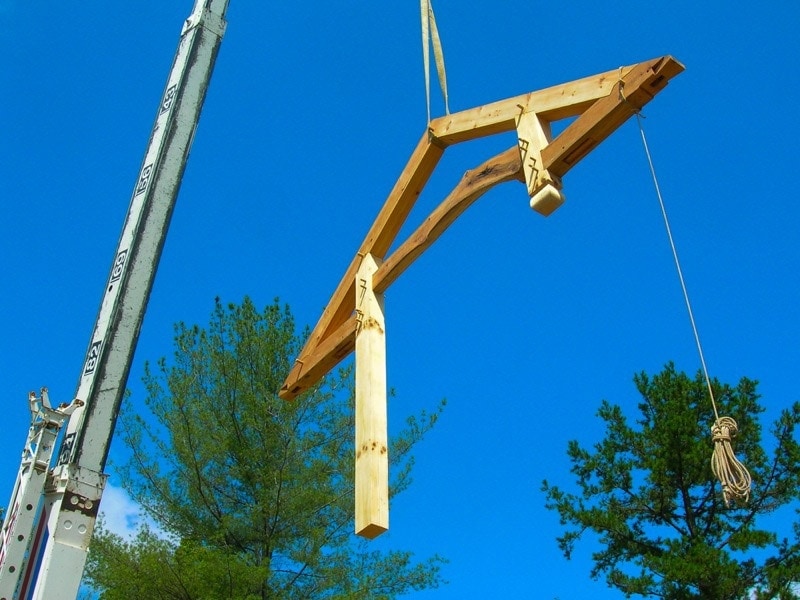
Using Lifting Machinery
If you are using a crane, you must also organize that site. When assembling bents, you start with the last bent you need, then stack blocks on top of that one, assemble the next bent, and continue. The last bent to be assembled should be the first one you need and should be on top. Stacking the bents maximizes job space and fluidity (unless you have a massive site with room to spread every bent out individually). Assemble the bent on the ground using Shem blocks so you can pass a loop under it. Cut the posts to length. Drive all pegs and structural screws necessary so that they can be lifted from the ridge point, middle point, or highest point. Think about how each bent will balance in the air once lifted. Attach the tagline and begin to raise, assuring that everything is secure. Walk the load to its designated place and lower it to its location. Once secured, you can remove the straps and send the hook back to the home point. Continue this with the next bent or assembled part and tie them together as you move along. This is important to do, as it's a pain to get the lifting equipment to lift parts over one another and it can be dangerous.
It should be noted that you can also use a tele-handler to raise. A tele-handler takes a bit more time as it's an assemble-as-you-go approach. You need more room for the telehandler to be able to drive around, and you need to be able to pick it up safely. Lift it halfway up, then brace it off and reset it to be able to pick it up entirely. You may have to do this in two parts.
Don't exceed the weight limit, as this will either brace the machine or cause it to go up on two wheels. Take this approach slowly and be careful. (attach Telehandler and crane article)
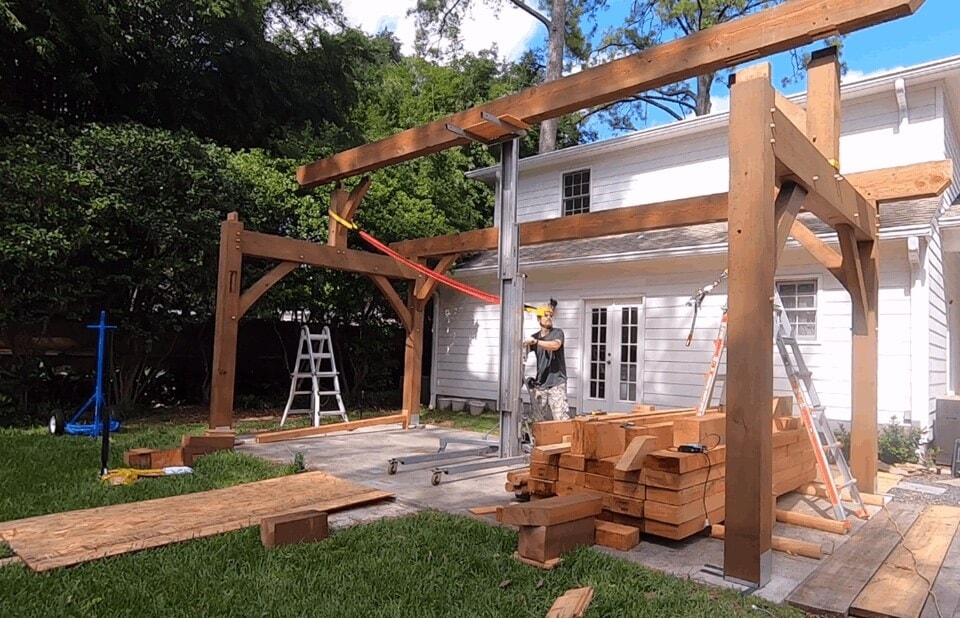
Material Lifts
Renting equipment can be expensive and not always within budget. If the pieces are too heavy to be lifted by hand, then using a hand crank material lift may be a good idea, and are used in construction quite frequently. They are a considerable time and back saver. Material lifts are predominantly used for lifted HVAC units, but I have put them to use in lifting timbers and trusses into place. They make it easy to lift a heavy load into the air and hold it there stably for longer than any human could, making them a safety advantage.
The lift itself is made up of two forks attached to a tower. The forks are lifted by a hand crank on the back of the machine, while the tower is stabilized by legs that have wheels and (typically has) two more stabilizing legs that fold down. It is crucial that the lift is on level ground and the wheels are locked when lifting starts. If you need to move the lift, you must lower the load to a safe height before unlocking the wheels so the lift doesn't roll away from you or tip over. These lifts can be very efficient in the raising process, but if misused, they can be dangerous. Take it slow and stay under the maximum weight listed in the specifications.
Tying the Bents Together
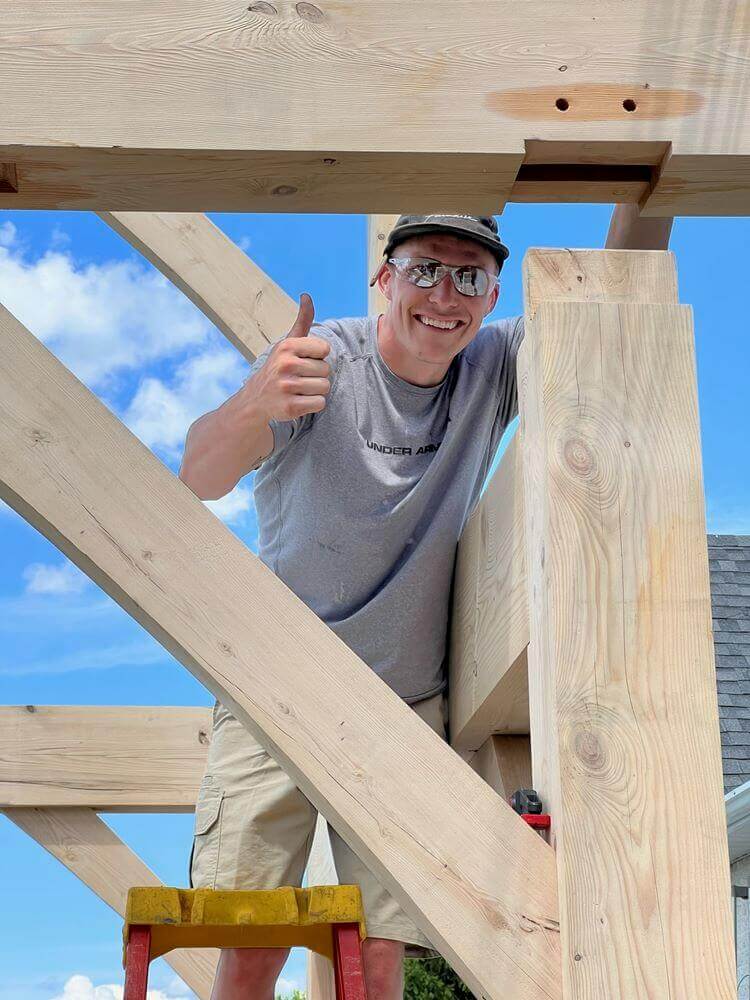
A traditional timber frame structure comprises a series of trusses and posts lined up and connected by plates and wall girts. The bents typically run perpendicular to the ridge and are made up of the vertical parts of the frame. The horizontal parts are used to connect to the next bent, make up the floor framing, tie the bents together, purlins in the roof system, or add rigidity to the structure.
Designing a frame needs to be aesthetically pleasing and functional, but at the same time needs to be possible to raise. Putting tenons on each end of a girt that goes in between two bents means that one of the bents will need to be leaned out to accept the tenon or will need to be pre-assembled with the grit floating in the air and will have to be carefully flown in so that the post and tenon can be set simultaneously. All joinery should be carefully thought out for when it comes time to raise. Not taking your time means that a beautifully done CAD program design or draft sheet cannot be assembled.
Whetting Bush
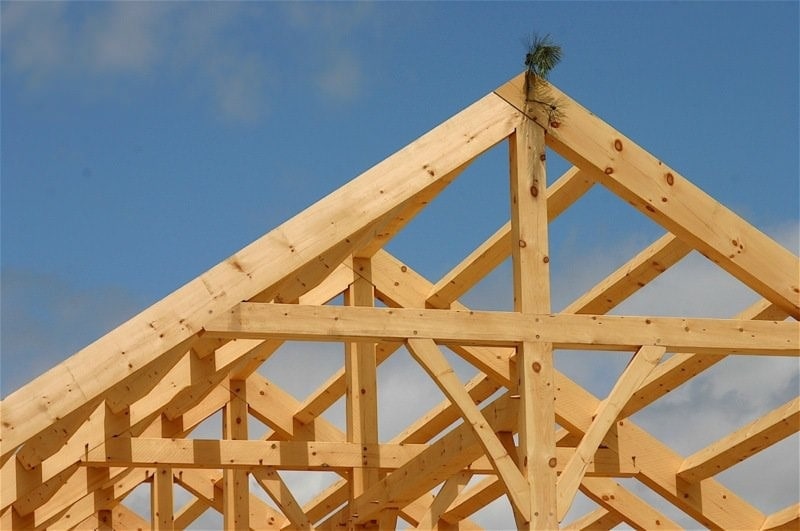
Ancient Scandinavians placed an evergreen tree atop a newly completed structure to placate the tree-dwelling spirits of their ancestors. At the time, the observance was religious in nature and continued for hundreds of years as the immigrating Scandinavians migrated to other areas of Europe. The tree-worshiping religious connotation faded over the centuries, and it has become a symbol of thanksgiving, good luck and a dedication ceremony.
Today, we carry on this tradition by nailing an evergreen bough to the highest point of the frame. This symbolic act marks the completion of the raising and is a time for everyone to stand back, appreciate all the hard work that’s gone into the project and congratulate each other on a job well done.
This is a very clear and concise instructional article. I really enjoyed reading and studying your instructions and greatly appreciate you providing your experience and insight. Thanks for a great article!
Our pleasure, thanks for your thoughts!